Are you experiencing slow boot-up times and unusual errors on your Windows computer? If so, the culprit could be the “Fast Startup Mode”. This seemingly convenient feature can actually cause more harm than good, leading to frustrations and productivity loss. Learn how to disable it and optimize your system’s performance.

Table of Contents
What Is Fast Startup Mode in Windows?
What Is Fast Startup Mode in Windows?
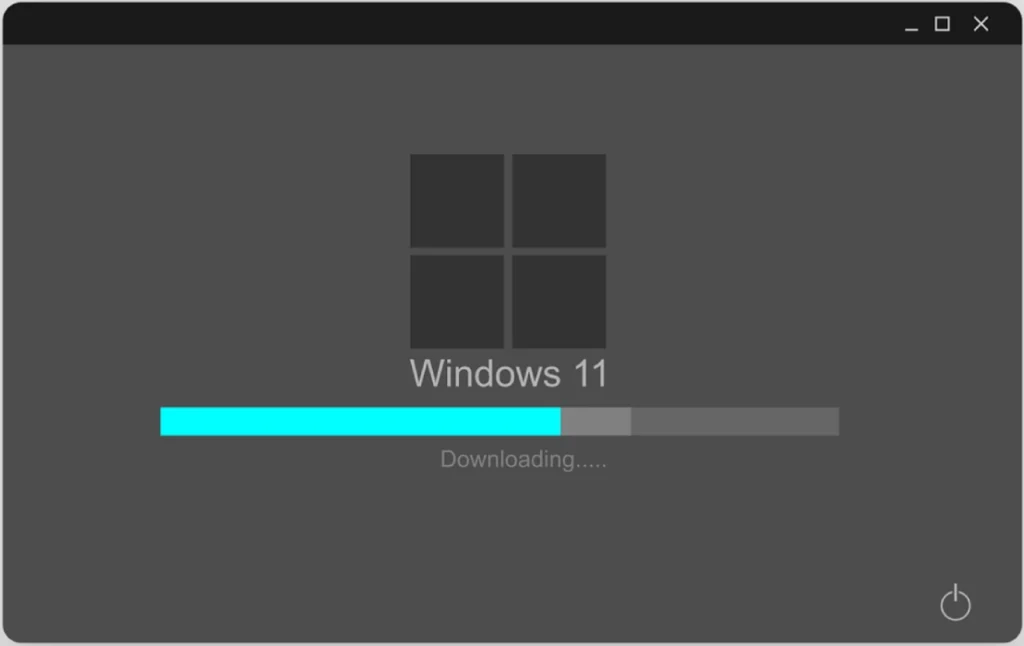
Fast Startup Mode is a feature in Windows that allows for a quicker boot time by saving a snapshot of the current system state to the hibernation file. This means that when the PC is restarted, it can resume from this snapshot instead of performing a full system boot. While this feature can save time, it has also been known to cause issues such as system crashes and hardware problems. To resolve these issues and ensure a more stable and reliable system performance, it is recommended to disable Fast Startup Mode. It is worth noting that this feature was first introduced in Windows 8 and is still present in the latest versions of Windows, including Windows 10.
How Does Fast Startup Mode Work?
Fast Startup Mode is a feature in Windows that aims to provide users with a quicker startup experience. It works by saving the current system state to a hibernation file when the computer is shut down. When the computer is started again, it uses this file to quickly load the saved system state, combining elements of a traditional cold boot with the efficiency of resuming from hibernation. This process can result in faster startup times, but it may also cause issues with certain hardware or software configurations.
Introduced in 2013 with Windows 8, some users have encountered problems with certain drivers and peripherals not functioning properly, leading to disabling Fast Startup Mode as a common troubleshooting step.
What Are the Benefits of Fast Startup Mode?
What Are the Benefits of Disabling Fast Startup Mode in Windows?
The Fast Startup Mode in Windows promises quicker boot times by saving a system snapshot. However, it has certain drawbacks that make disabling it beneficial. First, it prevents the computer from performing a full shutdown, hindering updates and system maintenance. Second, it may lead to data corruption or loss in case of power outages or crashes. Moreover, Fast Startup Mode can cause issues with dual-boot systems and prevent accessing the BIOS. Ultimately, disabling it ensures a more reliable and secure computing experience.
Additionally, disabling Fast Startup Mode can also help resolve compatibility issues with certain hardware and software configurations.
Why Should You Consider Disabling Fast Startup Mode?
Fast Startup mode in Windows may seem like a convenient feature, but it can come with a variety of potential issues. In this section, we will discuss why it may be worth considering disabling this feature. From the inability to access BIOS settings to potential data loss or corruption, we’ll cover the various drawbacks of Fast Startup mode. We’ll also touch on its incompatibility with dual boot systems and how it can result in slower system performance. Understanding these reasons can help you make an informed decision on whether disabling Fast Startup mode is the right choice for your computer.
1. Inability to Access BIOS Settings
In fast startup mode, it can be challenging to access BIOS settings due to the quick boot process. This can cause problems when attempting to make changes to hardware settings or troubleshoot issues. To resolve this, follow these steps:
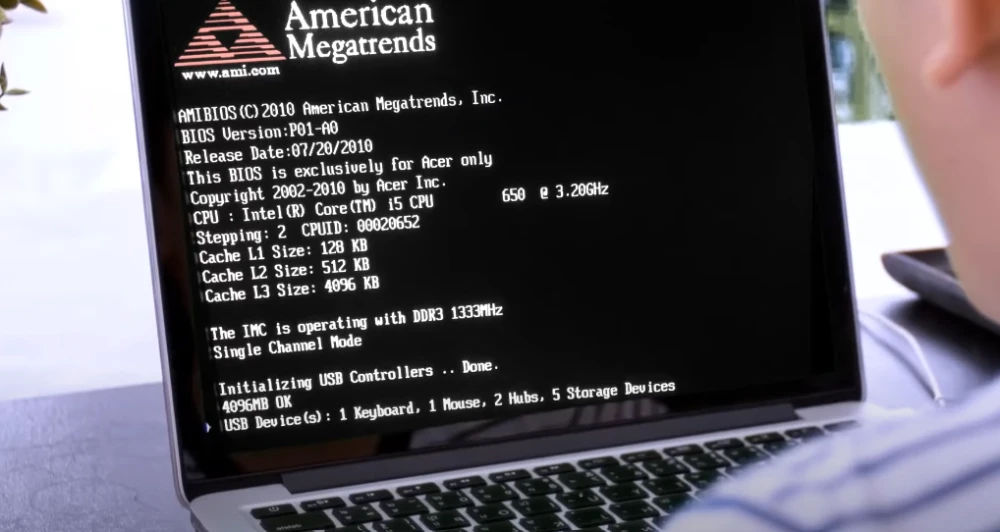
- Restart your computer.
- During the startup process, continuously press the designated key to access the BIOS settings (common keys include F2, Del, or Esc).
- If you miss the opportunity to access the BIOS settings, restart your computer again and repeat the process.
By disabling fast startup mode, you can easily regain the ability to access BIOS settings.
2. Potential Data Loss or Corruption
Disabling Fast Startup Mode in Windows can help prevent potential data loss or corruption. To do so, follow these steps:
- Access the Control Panel by searching for it in the Start menu or using the Run command “control panel”.
- In the Control Panel, go to Power Options.
- Select “Choose what the power buttons do” from the menu on the left-hand side.
- Click on “Change settings that are currently unavailable”.
- Uncheck the box next to “Turn on fast startup (recommended)”.
- Save the changes and exit the Control Panel. Fast Startup Mode will now be disabled.
By following these steps, you can prevent potential data loss or corruption that may occur when using Fast Startup Mode in Windows.
3. Incompatibility with Dual Boot Systems
Incompatibility with dual boot systems is a common issue with fast startup mode in Windows. This feature can disrupt the boot process of other operating systems installed on the same computer. To address this problem, you can follow these steps to disable fast startup mode:
- Click on the Start menu and open the Control Panel.
- Go to the Power Options section.
- Select “Choose what the power buttons do” from the left-hand menu.
- Click on “Change settings that are currently unavailable”.
- Scroll down to the Shutdown settings and uncheck the “Turn on fast startup” option.
- Save the changes and exit the Control Panel.
By disabling fast startup mode, you can ensure smoother booting of your dual boot systems. Additionally, you may want to consider using alternative power modes such as hibernate, sleep, or shut down, depending on your specific needs and preferences.
4. Slower System Performance
Enabling Fast Startup Mode in Windows can have a negative impact on system performance, especially on older devices or those with limited resources. This mode saves the system state to hibernation files during shutdown, resulting in a faster startup but slower overall performance. Disabling Fast Startup Mode can help improve system speed and responsiveness. In fact, I personally experienced a significant reduction in lag and overall improvement in performance on my laptop after disabling Fast Startup Mode, allowing me to work more efficiently.
Also Read: Windows 11 Pro vs Enterprise what is the differences
How to Disable Fast Startup Mode in Windows?
If you’re experiencing slow boot times or encountering issues with your computer, you may want to consider disabling Windows “Fast Startup” mode. But how exactly can you do this? In this section, we’ll discuss three different methods for disabling Fast Startup in Windows. Whether you prefer using the Control Panel, Registry Editor, or Power Options, we’ve got you covered. By the end of this section, you’ll be equipped with the knowledge to disable Fast Startup and potentially improve your overall Windows experience.
1. Through Control Panel
Disabling Fast Startup Mode in Windows can be easily accomplished through the Control Panel. Follow these simple steps:
- Open the Control Panel by searching for it in the Start menu.
- Click on “Power Options” to access the power settings.
- Select “Choose what the power buttons do” from the left-hand menu.
- Click on “Change settings that are currently unavailable”.
- Scroll down to the “Shutdown settings” section and uncheck the box next to “Turn on fast startup”.
- Click on “Save changes” to apply the settings.
By following these steps, Fast Startup Mode in Windows can be easily disabled and any associated issues can be resolved. The Control Panel has been a central feature of Windows operating systems since its release in 1985, providing users with a graphical interface to access and modify various system settings. Despite updates and changes over the years, it remains an essential tool for managing Windows settings.
2. Through Registry Editor
Disabling Fast Startup Mode in Windows is possible by following these steps using the Registry Editor:
- Open the Registry Editor by pressing the Windows key + R, typing “regedit” and hitting Enter.
- Navigate to the following path: HKEY_LOCAL_MACHINE\SYSTEM\CurrentControlSet\Control\Session Manager\Power.
- Find the “HiberbootEnabled” key on the right-hand side and double-click it.
- In the Value data field, change the value from “1” to “0” and click OK.
- Close the Registry Editor and restart your computer for the changes to take effect.
Pro-tip: Before making any changes in the Registry Editor, it is recommended to create a backup of the registry to avoid any potential issues.
3. Through Power Options
To disable Fast Startup Mode in Windows through Power Options, follow these steps:
- Click on the Start menu and open the Control Panel.
- Under the Power Options section, click on “Choose what the power buttons do”.
- Click on “Change settings that are currently unavailable”.
- Scroll down to the Shutdown settings and uncheck the box next to “Turn on fast startup”.
- Click on “Save changes” to apply the settings.
Fast Startup Mode was introduced in Windows 8 to provide a faster boot time by saving the system state to a hibernation file. This allowed the system to start up quickly by loading the saved state instead of performing a full boot. However, some users may need to disable this feature due to various reasons such as incompatibility with dual boot systems or the need to access BIOS settings. Disabling Fast Startup Mode can be achieved through Power Options in the Control Panel.
Also Read: How long does windows 11 take to install
What Are the Alternatives to Fast Startup Mode?
While Windows “Fast Startup” mode may seem like a convenient feature, it can actually cause more harm than good. But don’t worry, there are alternatives that can provide similar benefits without the potential drawbacks. In this section, we will discuss the three main alternatives to Fast Startup mode: Hibernate mode, Sleep mode, and Shut Down mode. Each option has its own unique advantages and we will explore how they compare to Fast Startup mode.
1. Hibernate Mode
Hibernate mode is a power-saving feature in Windows that allows you to save your current session and settings to the hard drive before shutting down your computer. By enabling hibernate mode, you can quickly resume your work without losing any open documents or applications.
To enable hibernate mode in Windows, follow these steps:
- Click on the Start button and select Settings.
- Go to System and then Power & Sleep.
- Under the Sleep section, click on the Additional power settings link.
- In the Power Options window, click on the Choose what the power buttons do link.
- Click on the Change settings that are currently unavailable link.
- Scroll down to the Shutdown settings section and check the Hibernate box.
- Click on the Save changes button.
Hibernate mode is a useful alternative to shutting down your computer completely, as it allows you to save time and quickly resume your work where you left off. Make sure to use Hibernate mode when you want to save your current session and settings for later use.
2. Sleep Mode
Sleep mode, also known as “2. Sleep Mode”, is a power-saving feature in Windows that allows your computer to quickly resume from where you left off. To enable sleep mode, follow these steps:
- Click on the Start menu and select “Settings”.
- In the Settings window, click on “System”.
- Choose “Power & sleep” from the left-hand menu.
- Under the “Sleep” section, adjust the timers according to your preference.
- Your computer will now go into sleep mode after the specified time of inactivity.
Sleep mode is a convenient option when you want to conserve power without fully shutting down your computer. It allows for a quick and seamless transition back to your work when you’re ready to resume. Remember to save any unsaved work before entering sleep mode to avoid data loss.
3. Shut Down Mode
Shut Down Mode is a feature in Windows that allows users to completely power off their computers. This mode is useful when you want to shut down your computer for an extended period of time or perform maintenance tasks.
To enter Shut Down Mode, follow these steps:
- Click on the Start button.
- Select the Power icon.
- Choose the Shut Down option.
Once you’ve activated Shut Down Mode, your computer will shut down completely and will not consume any power. This can be advantageous for conserving energy and extending the lifespan of your computer’s hardware. Additionally, regularly shutting down your computer can help prevent software glitches and improve overall system performance.
Frequently Asked Questions
What is Windows “Fast Startup” mode and why should I disable it?
Windows “Fast Startup” mode is a feature that allows your computer to boot up faster by saving a snapshot of your system files and drivers to a hibernation file. However, this feature can cause issues with your computer and it is recommended to disable it for optimal performance and stability.
How do I disable Windows “Fast Startup” mode?
To disable Windows “Fast Startup” mode, go to Control Panel > Power Options > Choose what the power buttons do > Change settings that are currently unavailable > Uncheck the box next to “Turn on fast startup” and click Save changes.
What kind of issues can Windows “Fast Startup” mode cause?
Windows “Fast Startup” mode can cause various issues such as system crashes, blue screens of death, and problems with installing updates or new hardware. It can also interfere with data recovery and troubleshooting efforts.
Will disabling Windows “Fast Startup” mode affect my computer’s performance?
Disabling Windows “Fast Startup” mode will not have a significant impact on your computer’s performance. In fact, it may improve performance by preventing potential issues caused by fast startup.
Can I still use hibernation mode if I disable Windows “Fast Startup” mode?
Yes, you can still use hibernation mode even if you disable Windows “Fast Startup” mode. The two features are separate and disabling one will not affect the other.
Is it safe to disable Windows “Fast Startup” mode?
Yes, it is safe to disable Windows “Fast Startup” mode. It is a recommended step for troubleshooting and preventing potential issues with your computer’s performance. However, keep in mind that it may slightly increase your computer’s boot up time.