Are you waiting for Windows 11 take to install on your Laptop or PC? Well, you’re not alone. Many people are eagerly anticipating the new Windows operating system, but have concerns about the installation process. In this article, I’ll delve into the average installation time for Windows 11 and offer tips to help speed up the process.
Table of Contents
What Is Windows 11?
Windows 11 is the latest operating system developed by Microsoft. It is the successor to Windows 10 and offers various new features and improvements. Windows 11 provides a modern and streamlined interface, improved performance, and better compatibility with newer hardware. It also introduces a new centered Start menu, redesigned taskbar, and enhanced multitasking capabilities. Windows 11 aims to provide a more productive and user-friendly experience for both home and business users. With its advanced security features and regular updates, Windows 11 is designed to offer a secure and reliable computing environment.
How Long Does It Take To Install Windows 11?
Upgrading to a new operating system can be an exciting but daunting task. If you are considering installing Windows 11, you may be wondering how long the process will take. Well, there are several factors that can impact the installation time and it is important to understand them before embarking on the upgrade. In this section, we will discuss the various factors that can affect the time it takes to install Windows 11, so you can plan accordingly and have a smooth installation experience.
Factors That Affect Installation Time
Factors that affect the installation time of Windows 11 include the speed of the system’s hardware, the amount of data on the device, and the efficiency of the internet connection.
A fast solid-state drive (SSD) can significantly reduce installation time compared to a traditional hard drive. Closing unnecessary programs and disconnecting external devices can also speed up the process.
If the installation takes too long, it’s important to check for errors, restart the installation process, or seek professional help. Understanding these factors can help users manage their expectations and troubleshoot any installation delays efficiently.
What Are The Steps To Install Windows 11?
Are you excited to upgrade to the latest operating system, Windows 11? Before diving into the installation process, it’s important to understand the steps involved. In this section, we will discuss the six steps to successfully install Windows 11. From checking system requirements to following on-screen instructions, each step plays a critical role in ensuring a smooth installation process. So, let’s get started and make sure you’re ready for the upgrade!
Step 1: Check System Requirements
Before installing Windows 11, it is important to ensure that your system meets the necessary requirements. Here are the steps to check the system requirements:
- Check processor compatibility to make sure it meets the minimum specifications.
- Make sure your device has enough RAM, with at least 4 GB for 64-bit systems.
- Check the available storage space. Windows 11 requires a minimum of 64 GB of storage.
- Confirm that your device supports DirectX 12 and has a compatible graphics card.
- Check for support of Secure Boot and TPM version 2.0. Consult your device manufacturer for instructions on how to enable TPM.
- Make sure your device has a display with at least a 720p resolution.
Step 2: Back up Important Data
Backing up important data is a crucial step when installing Windows 11 to prevent data loss. Follow these steps to back up your important data:
- Identify the files and data that you want to back up, such as documents, photos, and videos.
- Choose a backup method that suits your needs, such as using an external hard drive, cloud storage, or a network location.
- Organise and consolidate your files to make the backup process more efficient.
- Copy your important files to the chosen backup location.
- Verify the integrity of the backup by checking that all files have been successfully copied.
By following these steps, you can ensure that your important data is securely backed up before proceeding with the installation of Windows 11.
Step 3: Download Windows 11
To download Windows 11, follow these steps:
- Visit the official Microsoft website.
- Click on the “Download Windows 11” button.
- Review the system requirements to ensure compatibility.
- Choose the edition of Windows 11 that suits your needs.
- Select the language and architecture (32-bit or 64-bit).
- Click on the “Download” button to start the download.
- Wait for the download to complete.
- Once downloaded, double-click on the installation file to begin the installation process.
- Follow the on-screen instructions to complete the installation.
By following these steps, you can successfully download Windows 11 onto your device.
Step 4: Create Installation Media
Creating installation media is an important step in the process of installing Windows 11. Here’s a step-by-step guide for creating installation media:
- Connect a USB drive with at least 8GB of storage capacity to your computer.
- Open the Windows 11 Media Creation Tool.
- Select the option to create installation media.
- Choose the language, edition, and architecture that you want to install.
- Select the USB drive as the media to use for installation.
- Click on “Create” to start the process of creating the installation media.
- Wait for the tool to format the USB drive and copy the necessary files.
- Once the process is complete, you will have a bootable USB drive ready for installing Windows 11.
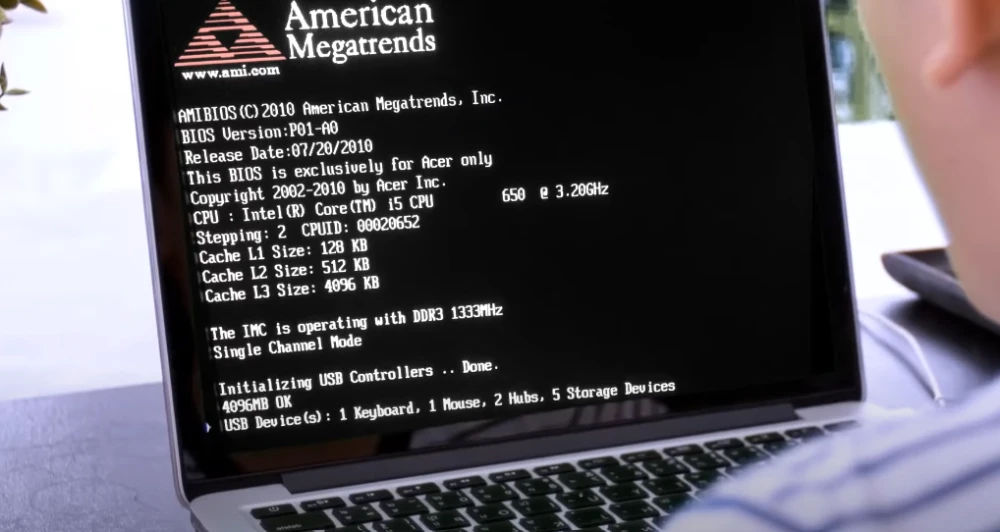
Step 5: Boot From Installation Media
To boot from installation media and install Windows 11, follow these steps:
- Insert the installation media, such as a USB drive or DVD, into your computer.
- Restart your computer and access the BIOS or UEFI settings.
- Change the boot order to prioritize the installation media.
- Save the changes and exit the BIOS or UEFI settings.
- Your computer will now boot from the installation media.
- Follow the on-screen instructions to proceed with the installation of Windows 11.
Step 6: Follow On-Screen Instructions
Step 6 of installing Windows 11 involves following the on-screen instructions provided during the installation process. Here is a breakdown of the steps:
- Check System Requirements
- Back up Important Data
- Download Windows 11
- Create Installation Media
- Boot From Installation Media
- Follow On-Screen Instructions (Step 6)
Following the on-screen instructions is crucial to ensure a successful installation of Windows 11. The instructions will guide users through various settings and options, allowing them to customize their installation preferences and complete the process smoothly.
How To Speed Up Windows 11 Installation?
The installation process of Windows 11 can be time-consuming, especially if your computer does not have the necessary hardware requirements. However, there are ways to speed up the installation process and get your new operating system up and running faster. In this section, we will discuss three tips to help you speed up Windows 11 installation. From utilizing a solid state drive (SSD) to closing unnecessary programs and disconnecting external devices, we will explore how these actions can significantly decrease the time it takes for Windows 11 to install.
1. Use a Solid State Drive
Using a Solid State Drive (SSD) can significantly speed up the installation process of Windows 11.
- Choose an SSD with a high read and write speed to optimize performance.
- Ensure that your SSD has enough storage capacity to accommodate the Windows 11 installation files.
- Back up all important data before installing Windows 11 onto the SSD.
- Connect the SSD to your computer using the appropriate cables or ports.
- During the installation process, select the SSD as the destination drive for installing Windows 11.
2. Close Unnecessary Programs
When installing Windows 11, closing unnecessary programs can help speed up the installation process. Here are some steps to follow:
- Save and close any open documents or projects.
- Exit any running applications, such as web browsers or media players.
- Check the system tray for any background processes and close them.
- Disable any startup programs that are set to launch automatically.
By closing unnecessary programs, you can free up system resources and ensure that the installation process runs smoothly. This can help minimize the time it takes to install Windows 11.
3. Disconnect External Devices
Disconnecting external devices during the installation of Windows 11 can help expedite the process and avoid potential errors or conflicts.
- Save and close any open files or programs.
- Power off your computer.
- Disconnect all unnecessary devices, such as printers, scanners, external hard drives, and USB devices.
- Leave only the essential devices connected, such as the keyboard, mouse, and monitor.
- Restart the computer and proceed with the installation of Windows 11.
What To Do If Windows 11 Installation Takes Too Long?
The installation process of Windows 11 can vary in duration depending on various factors such as system specifications and internet speed. However, if the installation seems to be taking an unusually long time, there may be underlying issues that need to be addressed. In this section, we will discuss what steps you can take if your Windows 11 installation is taking longer than expected. These include checking for errors, restarting the installation process, and seeking professional help if necessary.
1. Check For Errors
When installing Windows 11, it is important to check for any errors to ensure a smooth installation process. Here are the steps to follow:
- Verify System Requirements: Make sure that your device meets the minimum requirements for Windows 11.
- Run Compatibility Check: Use Microsoft’s PC Health Check tool to identify any potential compatibility issues.
- Update Drivers: Check for and update any outdated drivers that may cause errors during the installation.
- Scan for Malware: Use reputable anti-malware software to scan your system for any malicious programs that may interfere with the installation.
- Verify Installation Media: If you are using a USB or DVD for the installation, check the integrity of the media to avoid any errors.
By following these steps and addressing any errors, you can optimize your Windows 11 installation experience.
2. Restart Installation Process
To restart the Windows 11 installation process, follow these steps:
- Close all running programs and save any unsaved work.
- Click on the “Start” button and select “Settings”.
- In the Settings menu, click on “Update & Security”.
- Choose “Windows Update” from the left-hand menu.
- Click on the “Restart now” button under the “Advanced options” section.
- After your computer restarts, the installation process will resume.
By restarting the installation process, you can troubleshoot and resolve any issues that may have caused the initial installation to take too long.
3. Seek Professional Help
Seeking professional help for Windows 11 installation is a viable option if you encounter difficulties. Here are the steps to follow when seeking professional assistance:
- Research: Find reputable computer repair services that specialize in software installations and Windows operating systems.
- Contact: Reach out to the selected service providers through their website, phone number, or email to inquire about their availability and expertise.
- Appointment: Schedule an appointment with the chosen professional to discuss your installation issues and set up a time for them to assess and resolve the problem.
- Assessment: Allow the professional to evaluate your system, identify any installation issues, and recommend the best course of action.
- Resolution: Depending on the assessment, the professional may offer solutions such as troubleshooting, repairs, or reinstallation to expedite the process and ensure a successful installation.
Frequently Asked Questions
How long does windows 11 take to install?
The installation time for Windows 11 can vary depending on your computer’s specifications and the installation method you choose. On average, it can take anywhere from 30 minutes to 1 hour to install.
Will I lose my files during the installation process?
If you choose to do a clean installation, all of your files and programs will be removed. However, if you choose to upgrade from a previous version of Windows, your files and programs will be preserved.
Can I use my computer while Windows 11 is installing?
It is not recommended to use your computer during the installation process as it can slow down the installation and potentially cause errors. It is best to let the installation run without interruption.
Can I cancel the installation process once it has started?
Yes, you can cancel the installation process at any time. However, it is not recommended as it can potentially cause issues with your operating system. It is best to let the installation complete.
Do I need to back up my files before installing Windows 11?
It is always a good idea to back up your important files before performing any major updates or installations. While the installation process should not affect your files, it is better to be safe than sorry.
How can I speed up the installation process for Windows 11?
To speed up the installation process, make sure your computer meets the minimum system requirements, close any unnecessary programs, and have a stable internet connection. You can also choose to do a clean installation instead of an upgrade, which can be quicker.